| |
General instructions

|
| • |
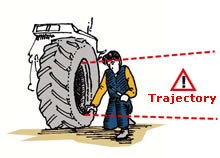
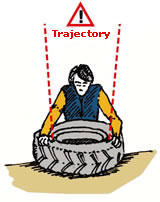
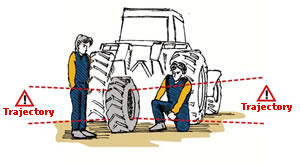
Tyre fitting and removal can be dangerous.
Entrust these operations to specially trained experts only, using
proper tools and procedures.
|
| • |
If not performed by qualified personnel, these operations may
cause visible or invisible damage to the tyre and rim, which may
result in breakage during subsequent use.
|
| • |
In exceptional cases in which these operations cannot be carried
out by an expert, fitting and removal must be performed by carefully
following the instructions specially provided.
|
| • |
Ensure that the tyre to be fitted is the correct type and size
for the vehicle concerned and the intended use.
|
| • |
Particular attention must be paid to the compatibility of the rim
and tyre centring.
|
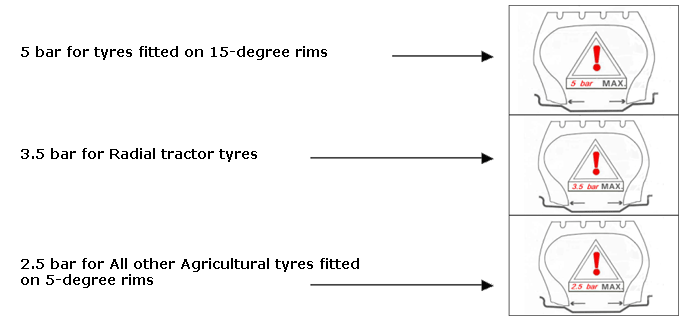
| • |
For use of 5° rims on high powered tractors, check that the
rims for the drive wheels feature a knurling in the bead seat, which
is capable of stopping rotation of the tyres on the rim during moments
of high traction, thus avoiding the shearing of the valve.
|
| • |
Avoid painting the bead seats of rims for drive wheels with epoxy
resin paints. In the case of rims with a special finish, carefully
rasp and renew the protection with a normal anti-rust treatment.
|
| • |
Fit with the same structure,
tread pattern and size on the same axle of the vehicle.
|
| • |
For dual fitting, use
only tyres of the same size, structure and groove depth and comply
with the dual spacing specified for the size used.
|
| • |
With new tyres, any other
parts (inner tube, flap, valve sealing ring) must also be new.
|
| • |
Check used tyres both
externally and internally for water, moisture, foreign bodies or any
sign of rust. If damage is found and assessed to be irreparable, the
tyre should be scrapped.
|
| • |
The rim must be clean
and in good condition, especially if it has already been used.
|
| • |
Discard rusty, deformed,
damaged or re-welded rims and rim components.
|
| • |
Be careful not to damage
any parts of the tyre or tube during fitting and removal.
|
| • |
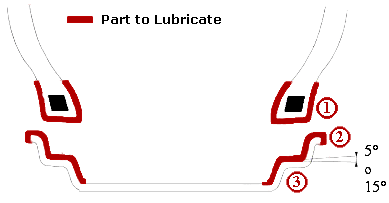
Always use the proper
specialized equipment and tools and the approved type of lubricant
(never use silicone or petroleum-base lubricants).
|
| • |
Clean the tyre bead area
and the contact area between the rim and the tyre.
|
| • |
Check that the tyre, tube
and the flap are perfectly compatible.
|
| • |
In the case of TUBE TYPE
tyres, ensure there is no air between the tyre and inner tube.
|
| • |
For correct fitting of
tube type tyres, it is advisable to lightly powder and partially inflate
the tube before placing it inside the tyres in order to avoid creasing.
|
| • |
Ensure that the tyre is centred on the rim.
|